Tromp leads 3-2. Allen must win this game or lose the match. In the entire history of competitive Connect Four, this is the highest-pressure situation on record — the final game of a historic match between the game's two solvers.
Allen delivered. In just 11 moves — the shortest game of the entire match — he forced Tromp's resignation and leveled the series at 3-3.
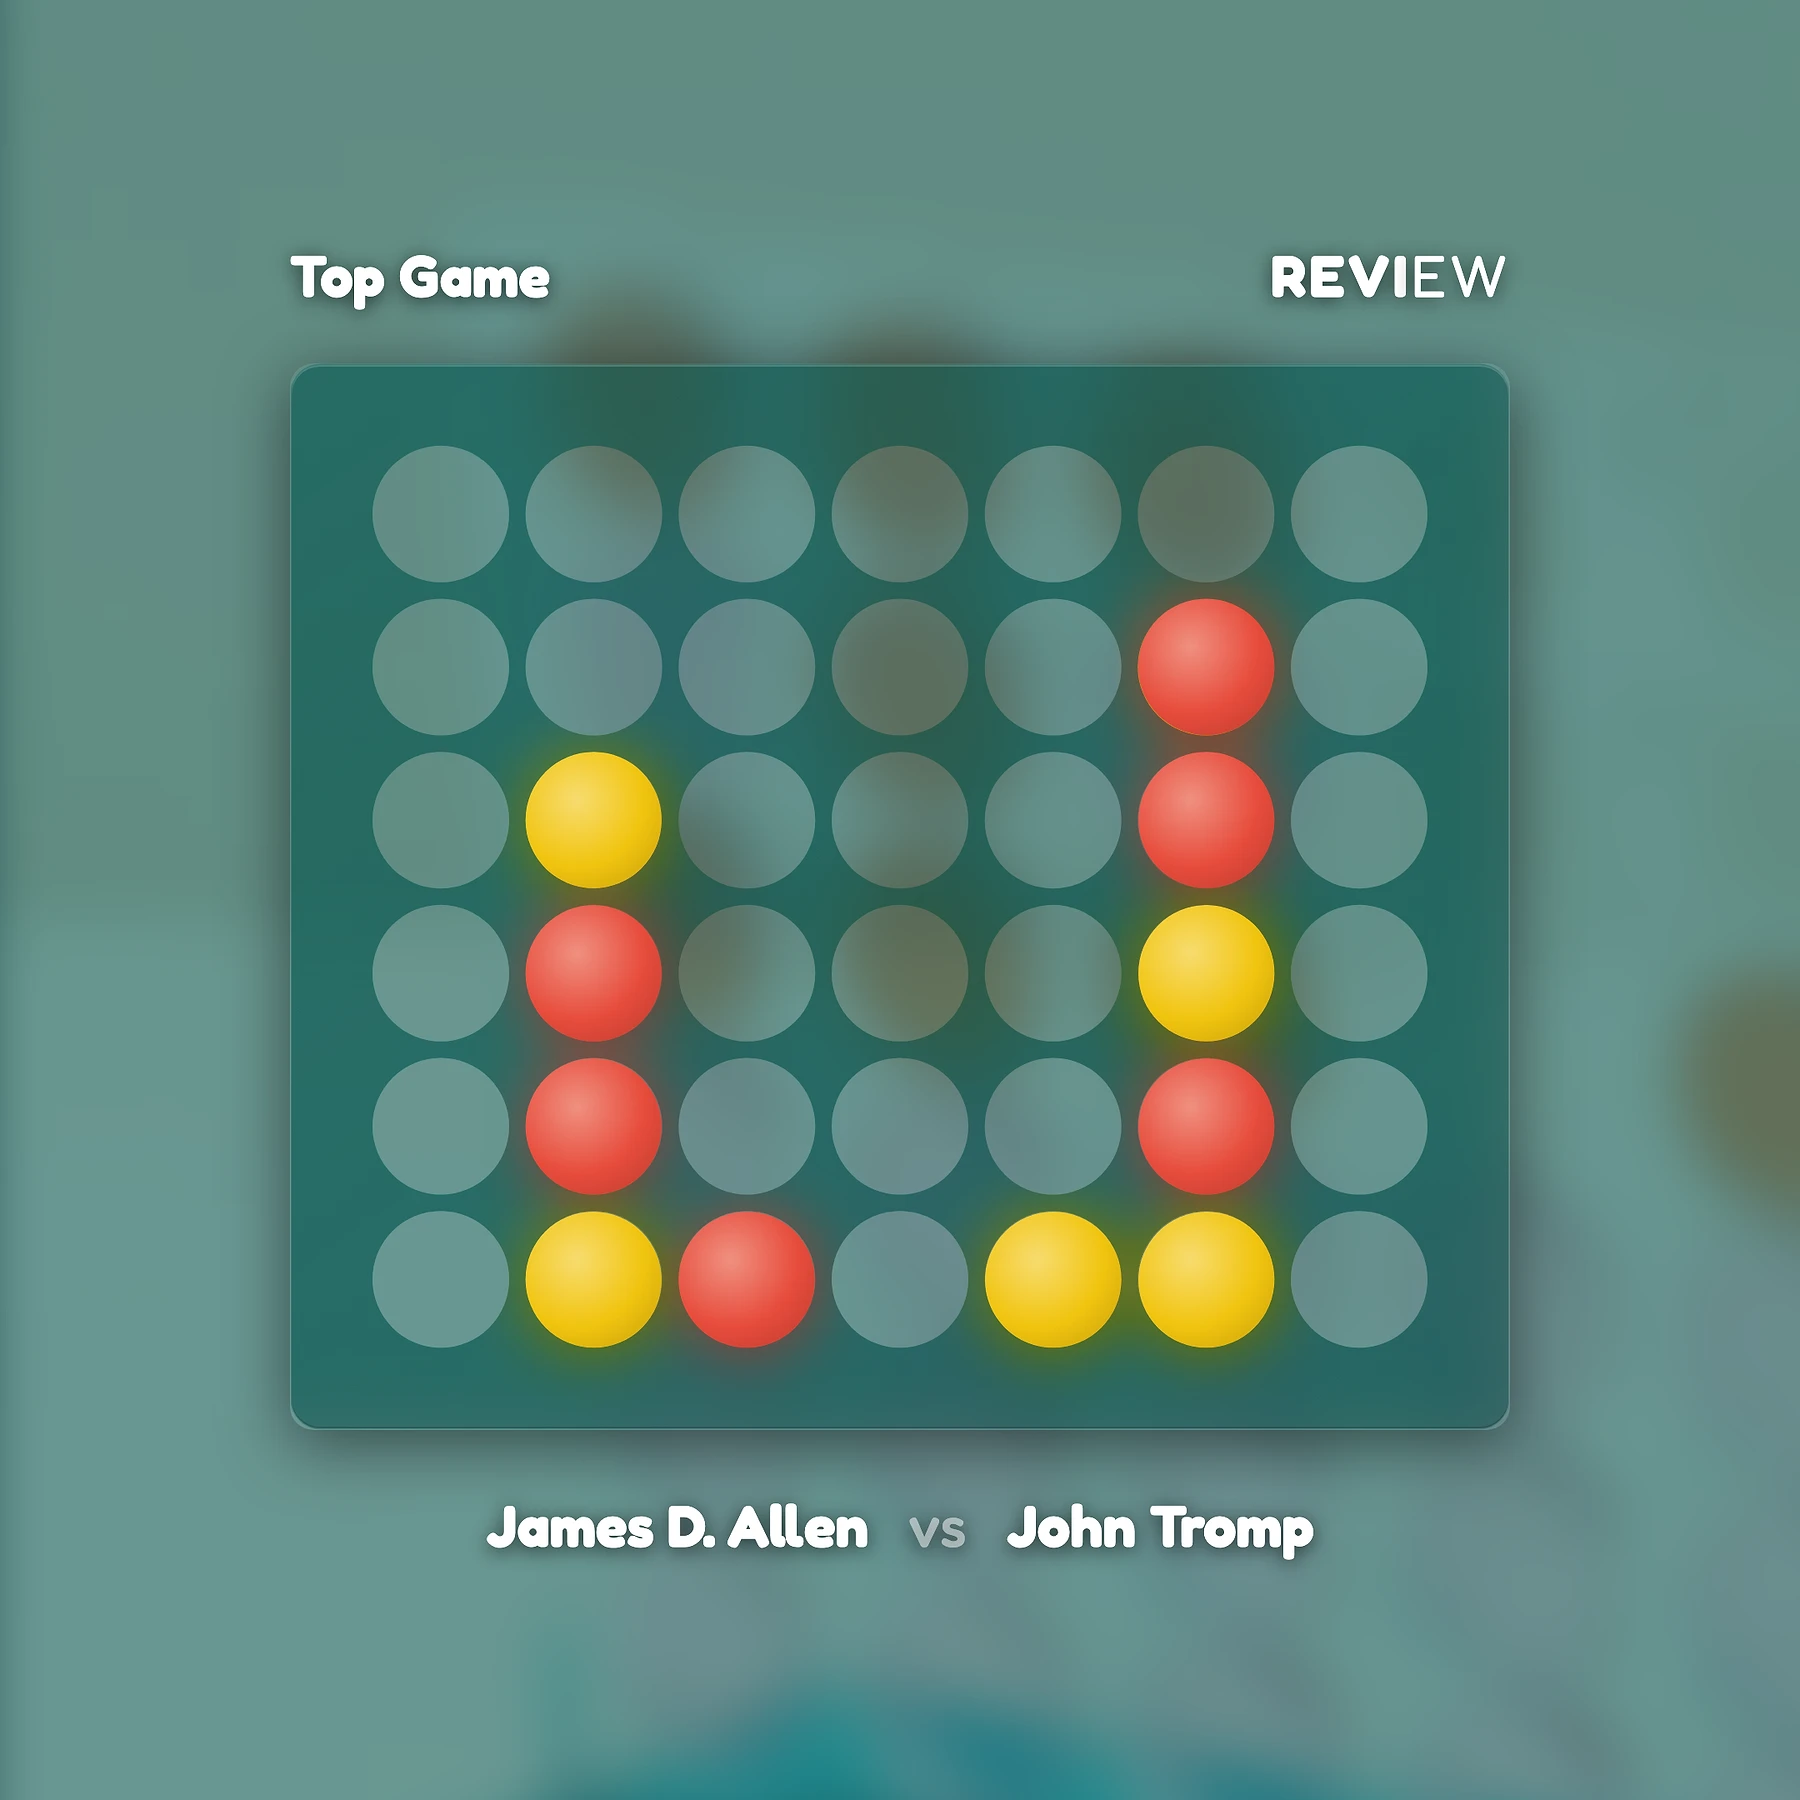
James D. AllenvsJohn Tromp
Move 1/11
Use arrows to step through
The Stakes
By Game 6, the match had already produced five decisive results. No draws. Every game ended with a resignation or a clear forced win. Allen had taken Games 1 and 2; Tromp had taken Games 3, 4, and 5. Tromp held a one-game lead and needed only a draw to claim the match.
Allen, playing as Player 1 (Red), had the theoretical advantage — first-player wins are guaranteed with perfect play from the center column. But theory and execution are different things, especially under pressure. Tromp had proven across five games that he could punish any inaccuracy.
Allen needed to be flawless. He was.
The Opening: Center and the Fight for Columns B and F
1. C1 — Allen opens in column C. Not the center column D, which is the theoretically optimal first move, but a standard alternative that creates different structural possibilities.
2. ...b1 — Tromp responds on column B. Both players are staking out the left side of the board early.
3. B2 — Allen stacks on column B immediately. He now has two pieces in the left-center area — C1 and B2 — creating early diagonal potential running from the lower-left toward the upper-right.
4. ...f1 — Tromp plays column F. This is the move that Allen later identified as questionable. The idea is to develop on the right side of the board and avoid letting Allen dominate the center unchallenged. But Allen believed 2...b3 would have been more appropriate. Why? Because b3 would contest the third row directly, and as Allen observed throughout the match, getting the first stone on the third row is a significant positional advantage. Row 3 is where many winning threats resolve, and ceding it without a fight proved costly.
5. B3 — Allen takes the third row in column B. This is exactly the square Tromp should have contested. Allen now has a three-piece stack in column B (rows 1 through 3 via B2 and B3, plus the adjacent C1), and his vertical and diagonal development is accelerating while Tromp's pieces sit isolated on the bottom row.
6. ...b4 — Tromp caps Allen's column B stack. This is defensive — preventing Allen from extending further in column B — but it doesn't generate any threats of Tromp's own. He's reacting, not building.
After move 6 — Allen controls column B
The F-Column Takeover
7. F2 — Allen pivots to the right side of the board. Having established a strong position on the left, he now starts building in column F — the same column where Tromp played his questionable f1. Allen is stacking on top of Tromp's piece, claiming the second row.
8. ...f3 — Tromp contests column F. Both players now have two pieces each in this column.
9. F4 — Allen takes the fourth row in column F. He has pieces on F2 and F4 — the even rows — while Tromp holds F1 and F3. Allen is building a structure that generates threats across the middle and upper rows.
10. ...e1 — Tromp plays column E on the bottom row. He's trying to develop toward the center, but it may be too late. Allen's pieces span from column B to column F across multiple rows, while Tromp's pieces are scattered without cohesive threat lines.
The Decisive Move
11. F5 — Allen plays F5, and the game is over.
Look at what Allen has built. In column F alone, he holds F2, F4, and F5. Combined with his pieces on B2, B3, and C1, Allen has influence across every critical area of the board. Tromp, by contrast, has almost no presence on the second or third rows — the rows where Connect Four games are most often decided.
Final position — Allen wins. Tromp resigns.
The position after F5 is what theorists call a zugzwang-like structure. The forced continuation would run: d2-D3-e3-E4-c2-C3. In every variation, Allen ends up with an Odd Major Threat — a winning threat sitting on an odd-numbered row.
Understanding Odd Major Threats
An Odd Major Threat is one of the most powerful concepts in Connect Four theory. It works like this: the first player makes moves on turns 1, 3, 5, 7, and so on — the odd turns. Pieces played on odd turns naturally land on odd rows more often. When Player 1 creates a threat that resolves on an odd row, the parity of the game works in their favor. The second player is forced to fill squares on even turns, and the timing rarely allows them to block an odd-row threat without creating new problems.
In Game 6, Allen's structure after F5 guarantees an Odd Major Threat no matter how Tromp responds. Tromp recognized this immediately. There was no line of play that could save him.
Tromp resigns. Eleven moves. The match is tied 3-3.
Row Influence: Why Tromp Lost
The key to understanding this game is row influence — which player controls which horizontal layers of the board. After 11 moves, Allen had pieces or immediate access to rows 1 through 5 across multiple columns. Tromp's pieces were almost entirely confined to row 1 (b1, f1, e1) with one piece on row 4 (b4) and one on row 3 (f3).
Tromp had no influence on row 2. Almost none on row 3. These are the rows where mid-game threats crystallize, and Allen owned them. The game was lost not because of a single blunder but because Tromp's early f1 — instead of b3 — surrendered the initiative on the critical rows. Allen exploited this with precision, building on both sides of the board while Tromp scrambled to respond.
What the Match Means
The final score: 3-3. No draws. Six games, six decisive results, and neither player proved superior.
This is a remarkable outcome. Allen and Tromp didn't just play Connect Four — they had each independently mapped the entire game tree. Allen solved it first in 1988; Tromp strongly solved it in 1995. They understood every position, every threat, every forced line. And yet, over six games, neither could consistently outplay the other.
The match demonstrates something profound about Connect Four at its highest level. Even with perfect knowledge of the game's solution, the practical challenges of selecting moves under competitive conditions create room for decisive outcomes. Every game in this match ended with a resignation. The margins were razor-thin, but the consequences were absolute.
Allen and Tromp played a historic match between the game's two solvers. It ended exactly as it should have — level.
We use essential cookies for authentication and site functionality. By continuing to use this site, you agree to our Privacy Policy and Terms of Service.