After two straight losses, John Tromp needed a win. He got one — and he got it in just twelve moves.
Game 3 of the Allen vs Tromp series is a compact, tactical fight that shows how quickly things can go wrong in Connect Four. A drawish position collapses into a forced loss for Allen after a single misstep, and Tromp wastes no time converting. If you haven't followed the series from the start, see Allen vs Tromp — The Complete Match for full context.
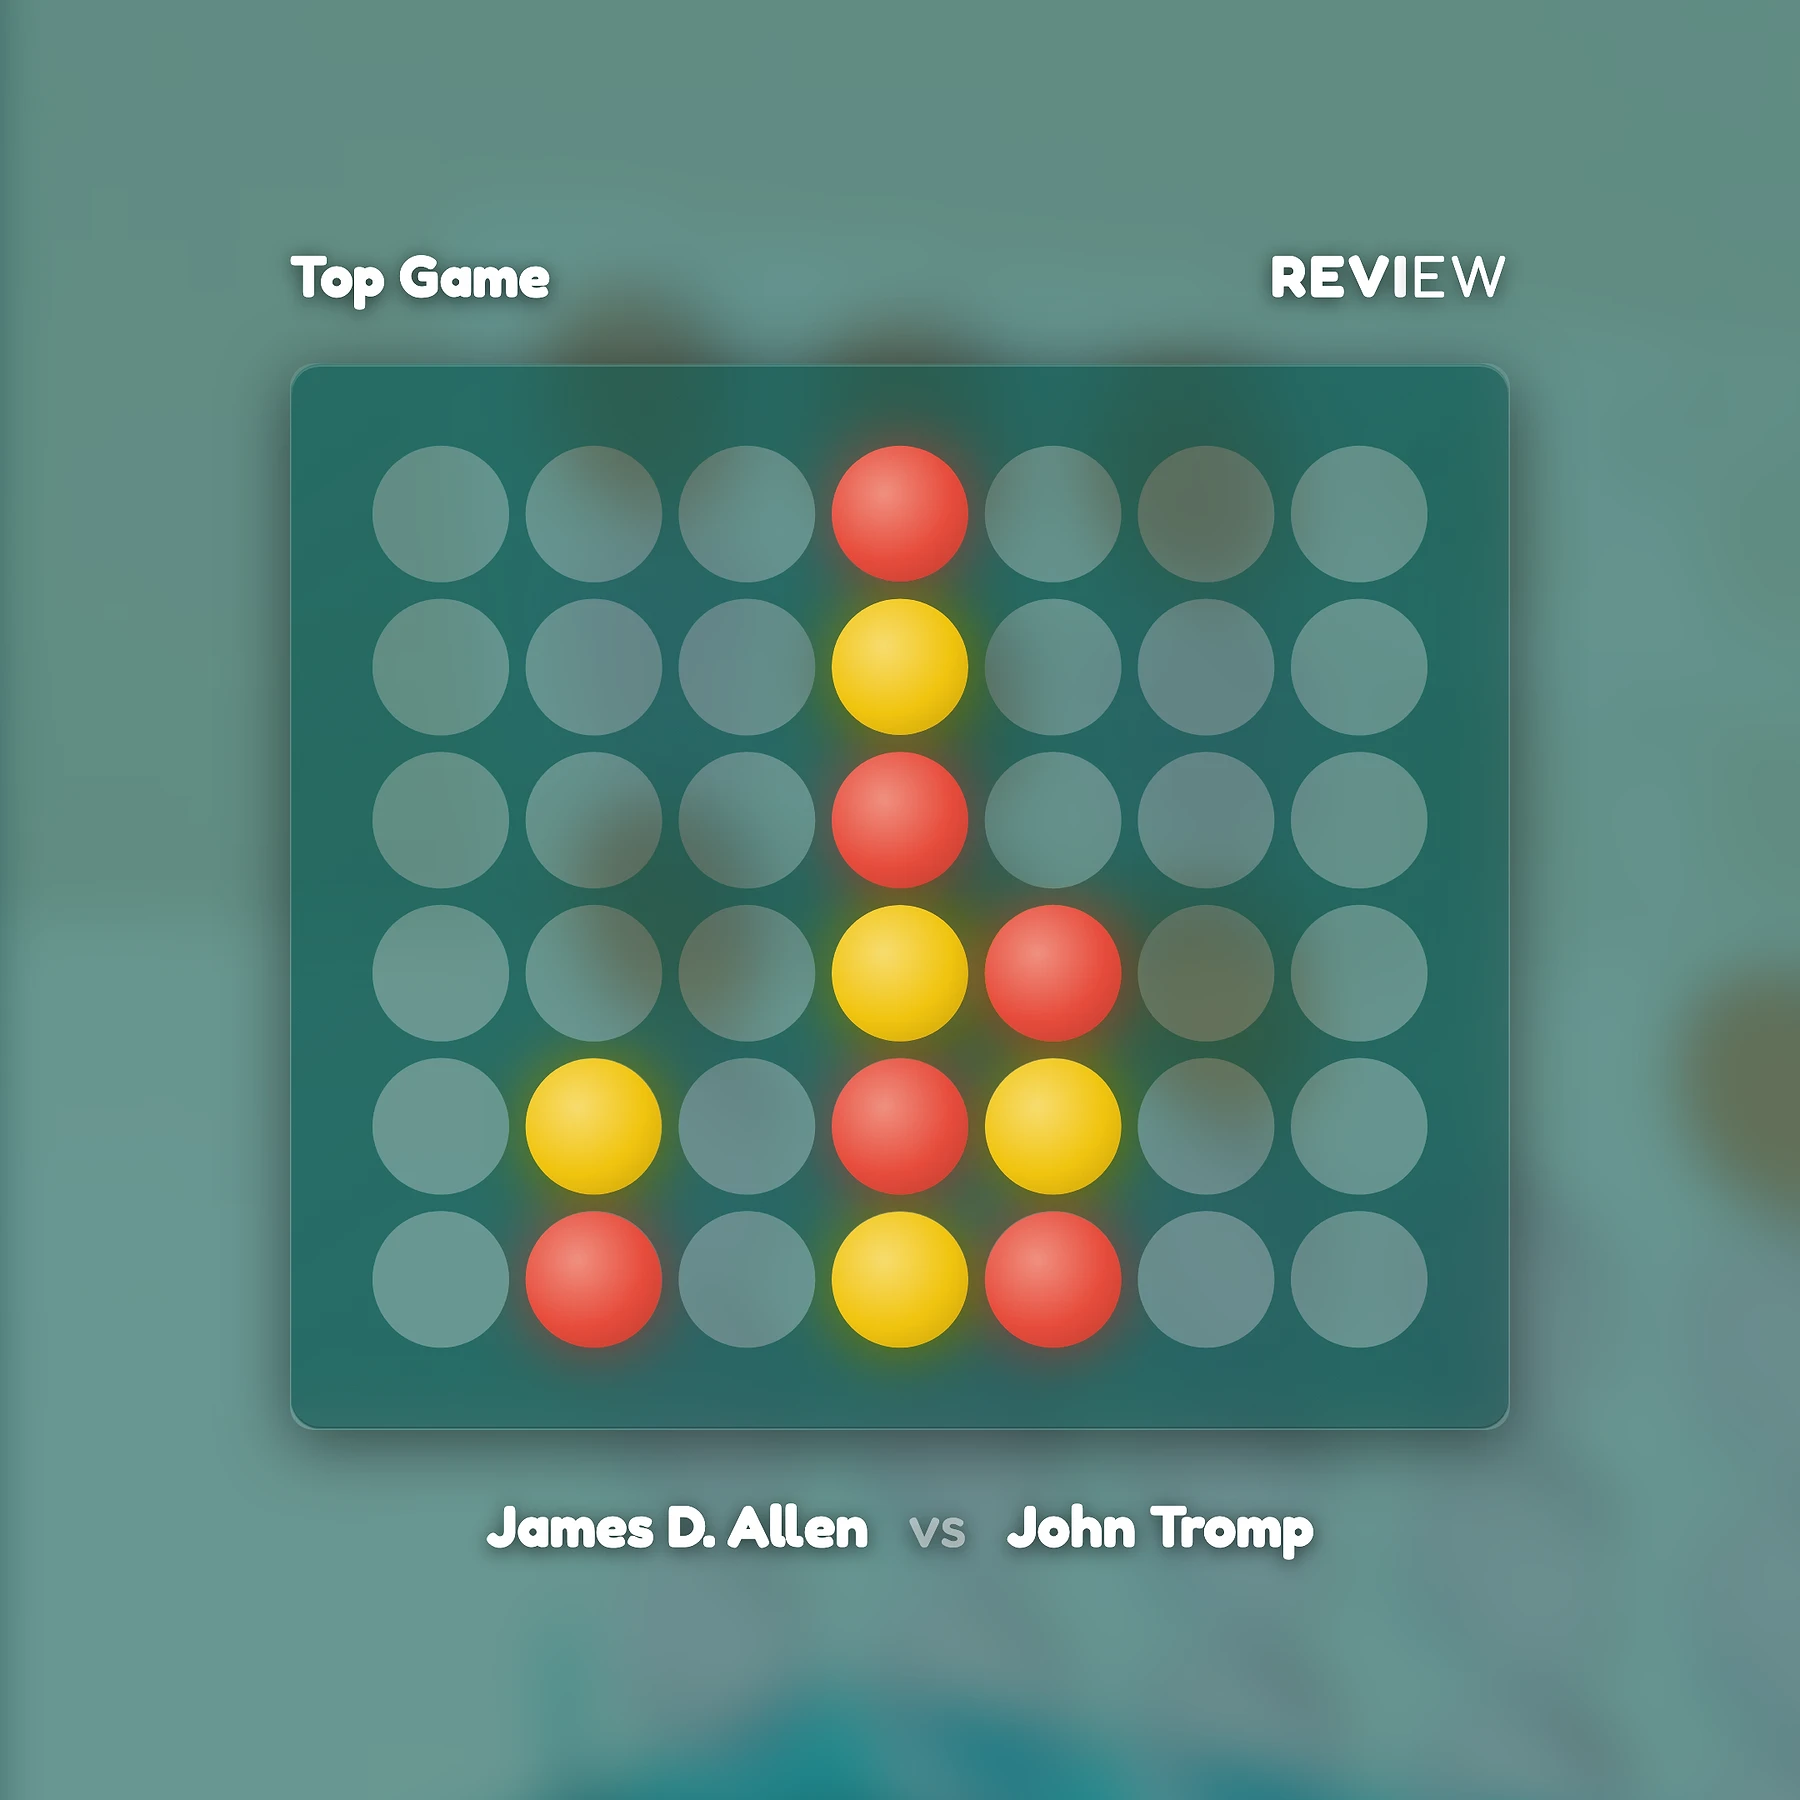
James D. AllenvsJohn Tromp
Move 1/12
Use arrows to step through
The Opening: B1 and the Road Less Traveled
Allen opens with B1 — column 2 on the first row. This is a non-standard choice. Most high-level Connect Four games begin in or near the center (column 4), where pieces have the most connectivity. By starting on the wing, Allen signals that he wants to avoid well-trodden lines and steer the game into unfamiliar territory.
Tromp responds with b2, stacking directly above Allen's piece. This is a practical reply: it neutralizes any immediate vertical threat from Allen while keeping options open.
The effect of B1 is that the game avoids the sharp, theory-heavy positions that arise from central openings. Instead, both players enter a middlegame where neither side has a clear structural advantage. The position is drawish from the start, and both players know it.
Moves 3-10: A Balanced Middlegame
The next several moves see both players maneuvering cautiously:
Move
Notation
Column
Player
3
E1
5
Allen (Red)
4
d1
4
Tromp (Yellow)
5
D2
4
Allen (Red)
6
d3
4
Tromp (Yellow)
7
D4
4
Allen (Red)
8
d5
4
Tromp (Yellow)
9
D6
4
Allen (Red)
10
e2
5
Tromp (Yellow)
The column-4 battle is the most striking feature of this sequence. Allen and Tromp alternate filling column D from the bottom up, with neither player gaining a vertical connection. By move 9, column D is entirely filled — six pieces stacked in alternating colors. Neither player owns it; it's a shared wall.
Meanwhile, Allen has placed a piece on E1 (move 3) and Tromp has responded with e2 (move 10), beginning to develop on the right side of the board. The position remains balanced. There are no immediate threats, no forks, and no obvious path to victory for either player.
This is the kind of middlegame that rewards patience. One wrong move, and the balance tips.
After move 10 — balanced middlegame
Move 11: The Mistake
Allen plays E3 — stacking a third piece in column 5.
On the surface, this looks reasonable. Allen is building vertically in column E, and he already has pieces on E1 and (via the alternating stack) a presence in the center. But E3 is a critical error. It leaves a gap in Allen's defensive coverage on the right side of the board, specifically on the first row.
The problem is subtle but decisive: by playing E3 instead of addressing the vulnerability on the bottom row, Allen gives Tromp access to a diagonal line that starts from the lowest possible position on the board.
Move 12: The Killing Blow
Tromp plays f1 — column 6, row 1.
This is the winning move. With f1, Tromp creates a diagonal threat that runs from the bottom-right corner of the board upward to the left. The critical property of this diagonal is that it is rooted on row 1.
Why "Rooted on Row 1" Matters
In Connect Four, the most dangerous threats are the ones your opponent cannot disrupt. When a winning line depends on a square high up on the board, your opponent can often "undercut" it — that is, fill the squares below the critical cell with their own pieces, preventing you from ever reaching it, or at least buying time.
But a threat rooted on row 1 cannot be undercut. Row 1 is the floor. There is nothing beneath it. If a player creates a diagonal that starts on the bottom row, the foundational piece is already placed. The remaining pieces in the sequence either already exist or sit on cells that must eventually be filled. There is no way to sneak underneath and block the threat before it materializes.
This is one of the most powerful structural advantages in Connect Four: a winning line that starts at ground level is essentially immune to the primary defensive technique available in the game. For a deeper look at how threats like these work, see our strategy guide.
After f1, Tromp's diagonal is unstoppable. Allen cannot prevent it from completing, and the game ends in a forced win for Tromp.
Final position — Tromp's diagonal from f1 is unstoppable
What Allen Could Have Done
The root of Allen's problem is move 11. E3 is the moment the position shifts from drawn to lost. Allen needed to address the right side of the board before Tromp could plant a piece on f1. A defensive move — or a move that contested the first row on the right flank — would have maintained the equilibrium that had defined the entire game up to that point.
This is a pattern worth studying: in a balanced position, the losing move is often not an aggressive blunder but a quiet move that ignores a latent threat. Allen was building his own structure with E3, but he was building in the wrong direction.
Series Context
Heading into Game 3, Allen led the series 2-0. He had won both previous games and appeared to have a firm grip on the match. Tromp's victory here — achieved in just twelve moves — changes the dynamic entirely. The series now stands at 2-1, and Tromp has demonstrated that he can punish even small inaccuracies with decisive force.
Twelve moves is remarkably short for a game at this level. It speaks to both the sharpness of the position after B1 and the severity of Allen's error on move 11. One misstep was all it took.
Key Takeaways
Non-standard openings create double-edged positions. B1 avoids theory but also avoids the structural advantages of center play. Both players are on their own, and the margin for error is thin.
Row-1 threats are the hardest to defend. A diagonal rooted on the bottom row cannot be undercut. If your opponent builds one, you are often already lost.
Balanced positions demand vigilance. The game was drawn until move 11. In Connect Four, a single move can be the difference between a draw and a forced loss.
Short games are not flukes. Twelve moves is enough to win — or lose — at the highest level. Every move matters.
Play Through the Game
This is a game worth studying move by move. The short move count means you can trace the entire flow from opening to checkmate in a few minutes, and the critical moment on move 11 is a textbook example of how latent threats work in Connect Four.
We use essential cookies for authentication and site functionality. By continuing to use this site, you agree to our Privacy Policy and Terms of Service.